
How to use Easy Badge
Step 1: sign into windows as idcards 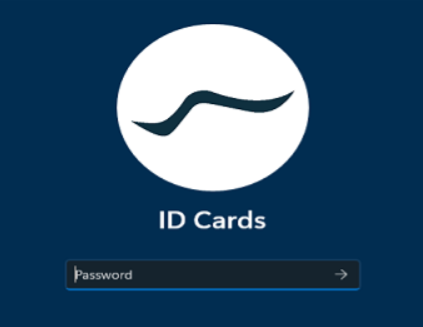
Step 2: open easy badge
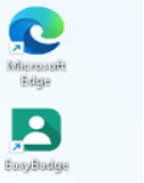

easy badge can be found on both the desktop and on the bar at the bottom of the screen
Step 3: sign into easy badge using the “idcards” credentials 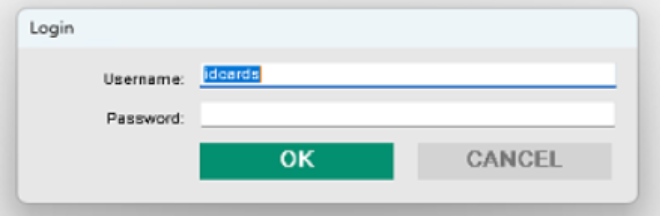
Step 4: Search for the user using the search bar in the top right 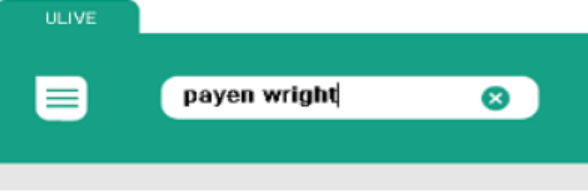
This search bar allows searching via any of the fields available in the record, including: first name, last name, id number, and card number
Step 5: Select the desired record using the left and right arrows 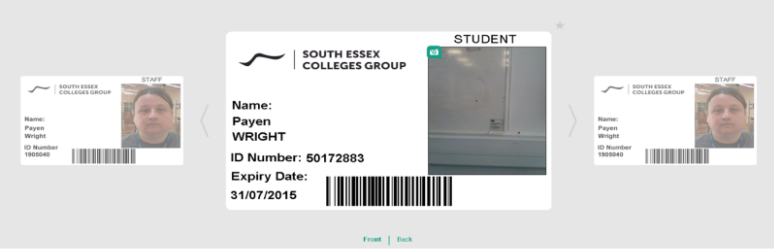
Step 6: Select the necessary card template
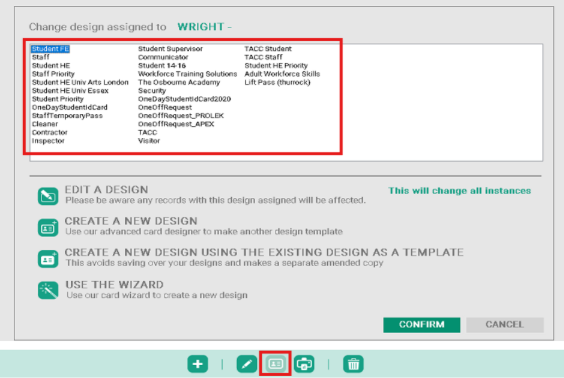
This step is only necessary if the template assigned to the user is not correct
Step 7: Take a picture of the user using the provided webcam 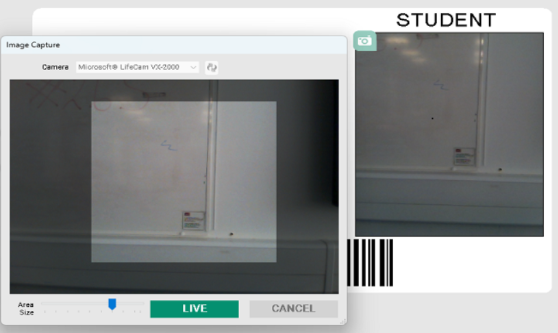
Some webcams may show a black image instead of a live moving video, to resolve this simply click the “grab” button to show the image. In either case press “grab” when the user is ready and move the mouse until the highlighted area shows as much of the users face as possible, then click to save the picture. The “Area Size” slider can also be used to adjust the highlighted space size.
Step 8: Print the users card 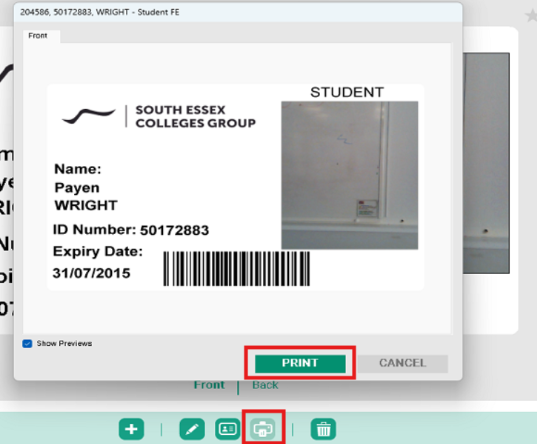
Step 9: Update the users record 
Once the user is happy with their card, click the pen icon to edit the record, then click in the “badgenumber” field, delete the contents of it if any, then scan the card on the provided card reader. Once this is done press the tick next to the pen (the cross can be used to discard any changes if necessary)